


Installing Ubuntu on the Windows operating system is the best way to explore Linux without changing the main OS. This guide describes the process of installing Ubuntu 22.04 LTS on Windows 11’s Oracle VirtualBox. With VirtualBox, you can run multiple operating systems on the host computer and use Windows and Ubuntu. Let’s get started!
What is VirtualBox?
VirtualBox is a powerful X86 and AMD64/Intel64 virtualized products for enterprise. With VirtualBox, you can install and run other operating systems such as Ubuntu on Windows hosts without affecting existing systems. This is especially useful for testing, development, or simply learning Linux.
Read more: 3 ways to upgrade to Windows11: Step By Step Guide
Acquisition: VirtualBox download
Before installing Ubuntu, you need to download and install VirtualBox. This is how to do it:
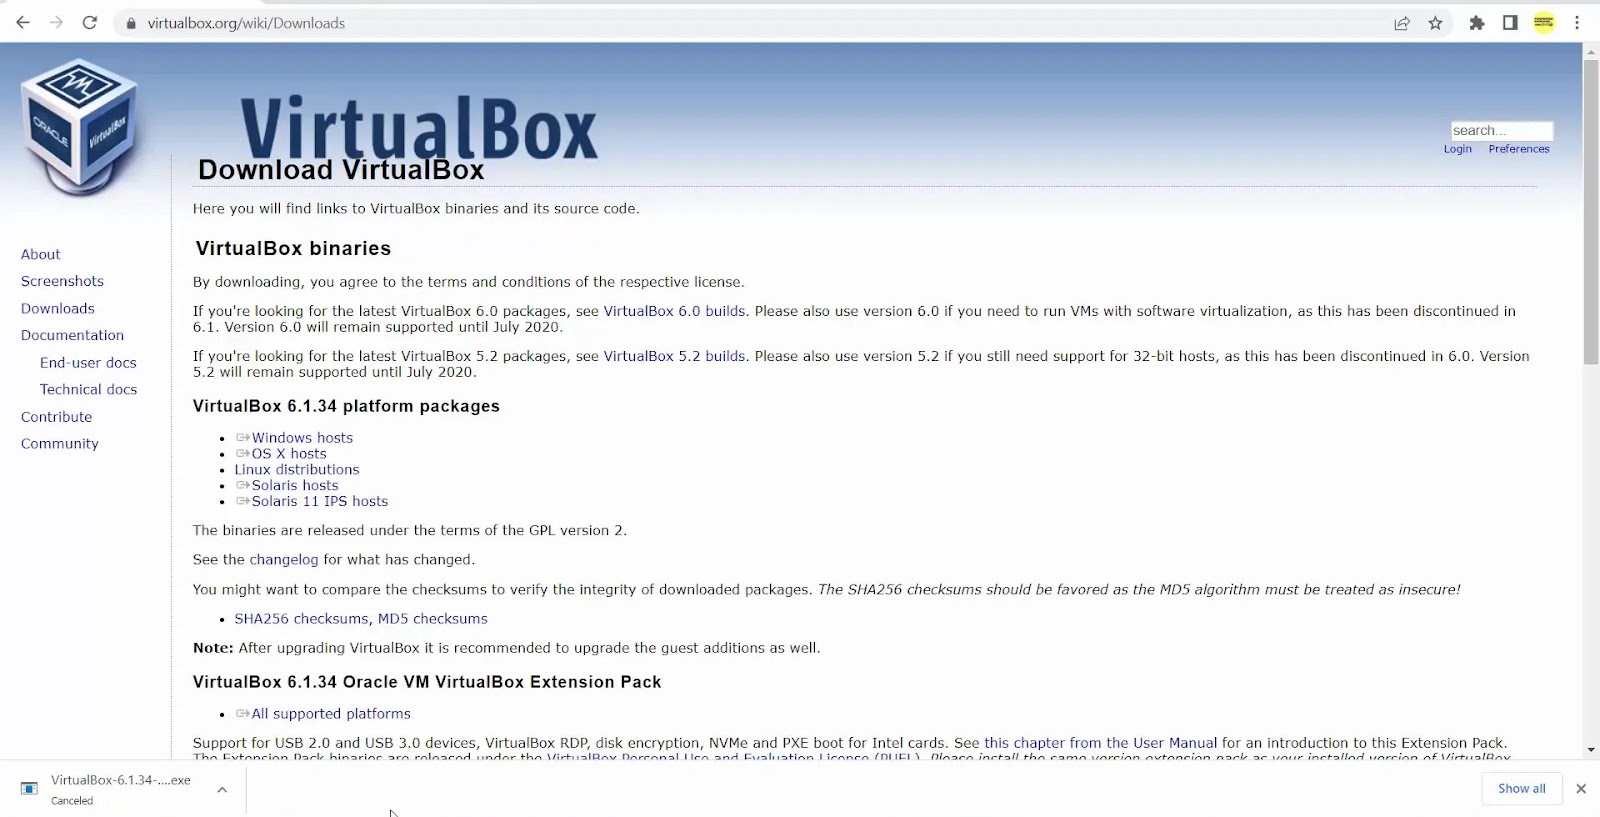
- Open your favorite web browser and “VirtualBox“. You will see big things Download VirtualBox button.
- Click the button or move to download Select Windows host。 This downloads the executable file (.exe) file.
- After downloading, execute the installer and complete the installation according to the prompt.
Ubuntu 22.04 Download LTS ISO file
Next, you need to download the Ubuntu 22.04 LTS ISO file. This is the file used to install Ubuntu on VirtualBox.
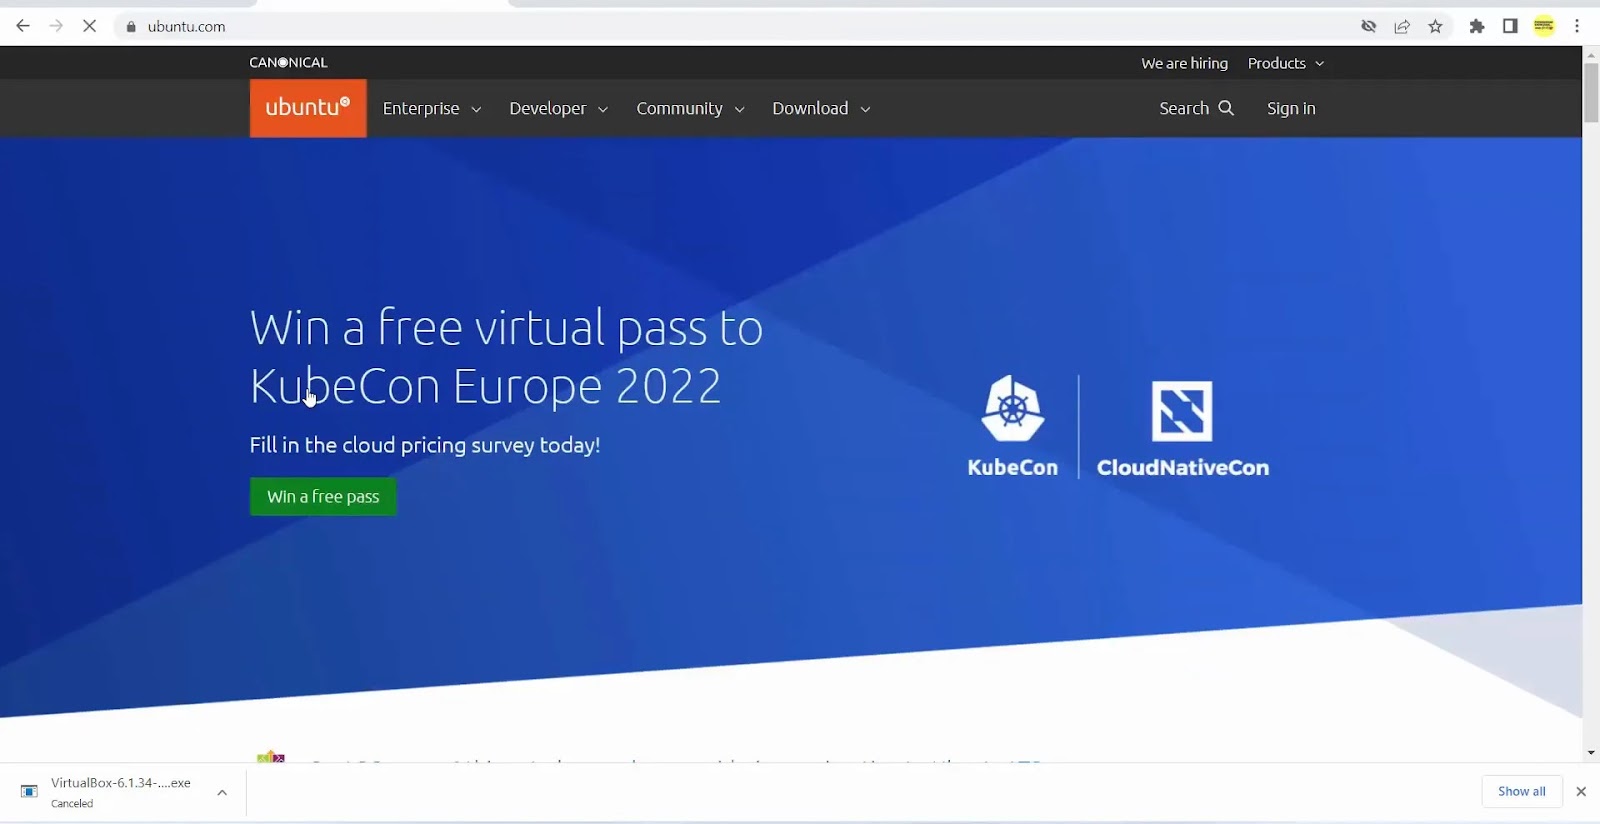
- Open the web browser and search UbuntuNavigate next download。
- Go to the download section and find the 22.04 LTS version. Be sure to select an LTS version because there is long -term support.
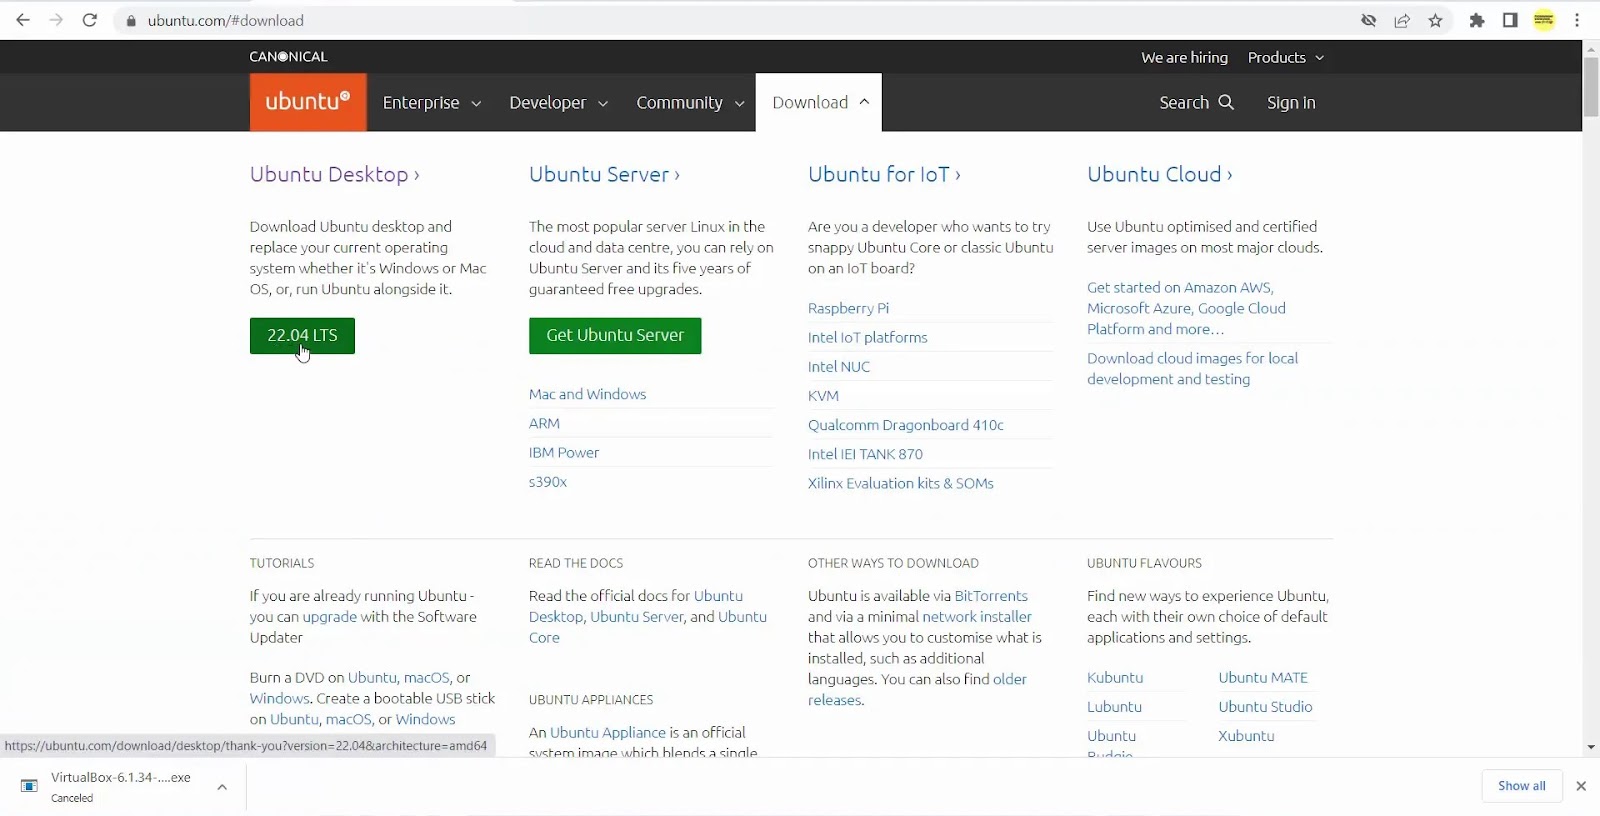
- Click the green button to download the ISO file.
Set up a virtual machine (Ubuntu 22.04) on VirtualBox
After installing VirtualBox, downloading the Ubuntu ISO file, it is time to set up a virtual machine.
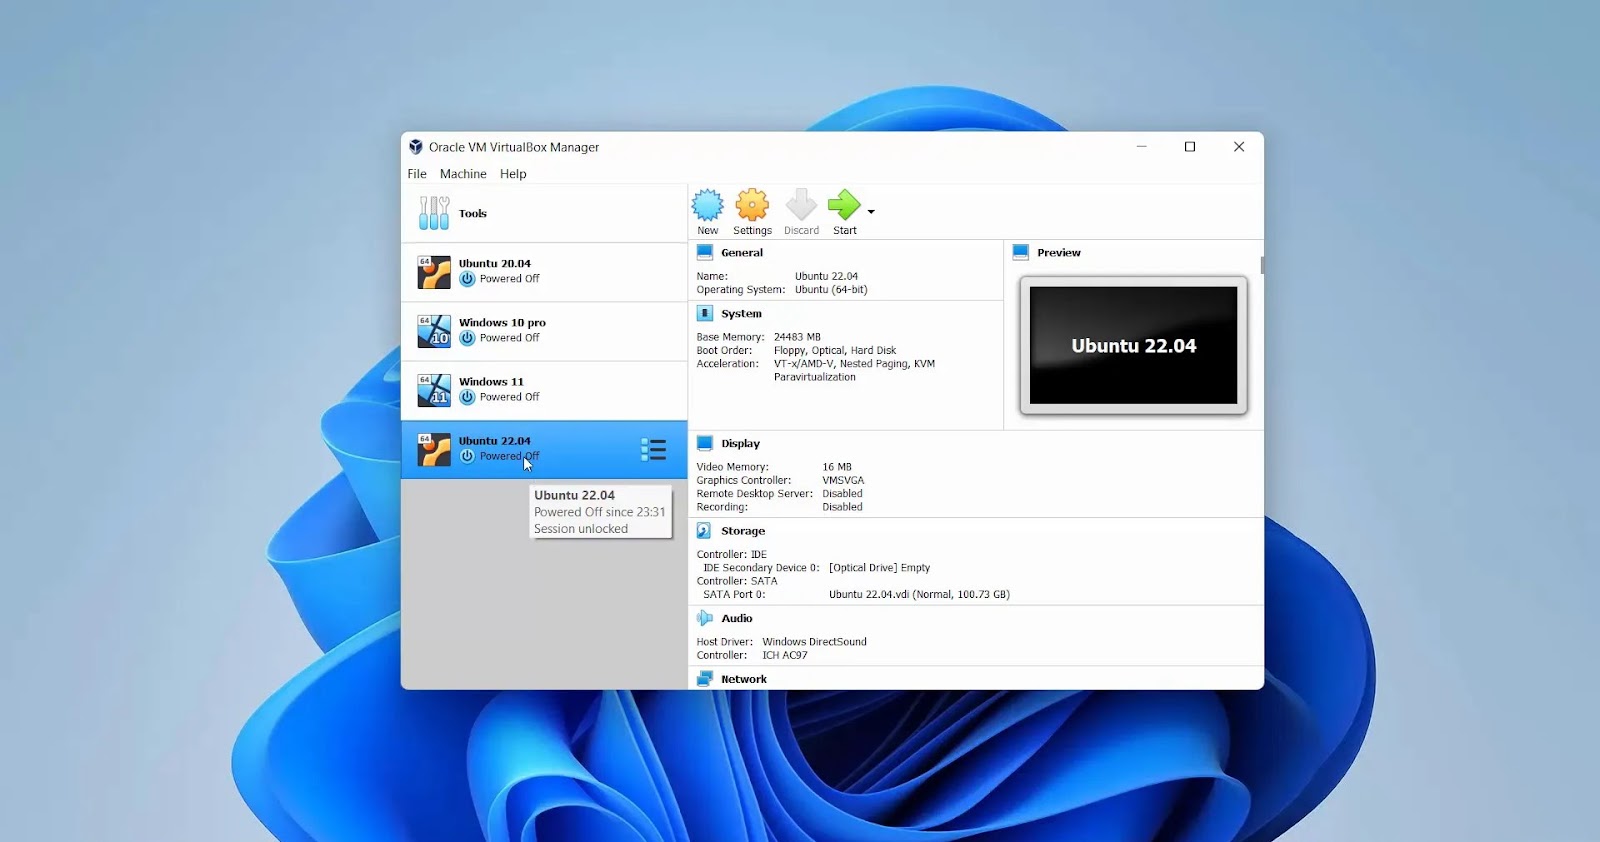
- Open VirtualBox,[新しい]Click the button to create a new virtual machine.

- Name the virtual machine like “Ubuntu 22.04”. VirtualBox automatically detects the type as “Linux” and “Ubuntu (64 -bit)”.

- Select the memory size. We recommend that you move the slider to the edge of the green mark. This is usually about 4 GB for Ubuntu.

- Select and click to create a new virtual hard disk now Create。
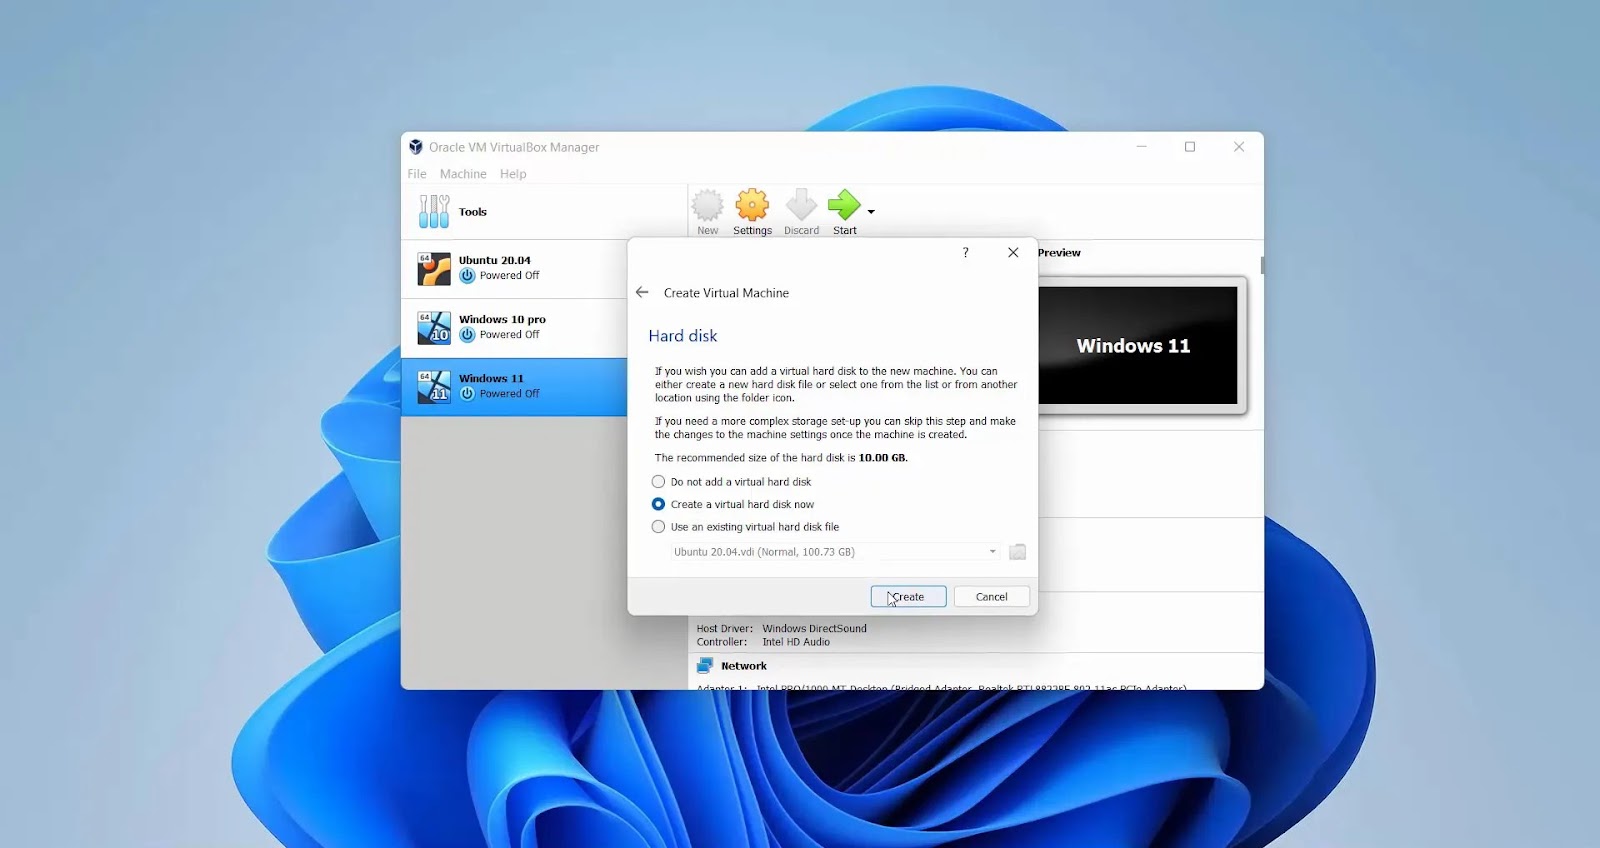
- Leave the hard disk file type as VDI and click it Next。

- Select Dynamically assigned Click the storage type Next。
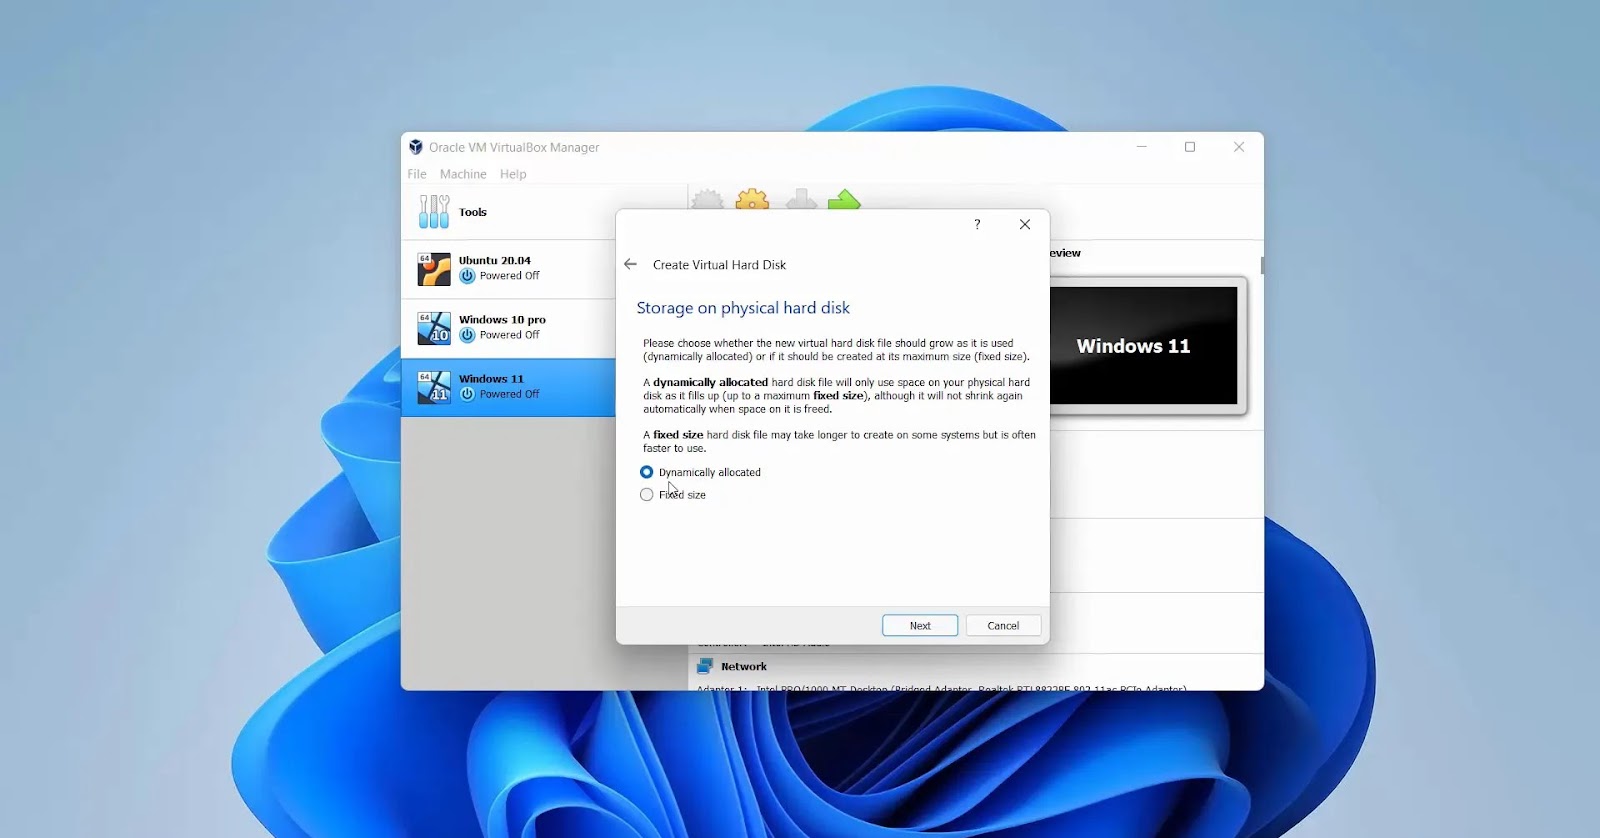
- Assign the surroundings 100 GB Click with a virtual hard disk Create。

Configuration of virtual machines
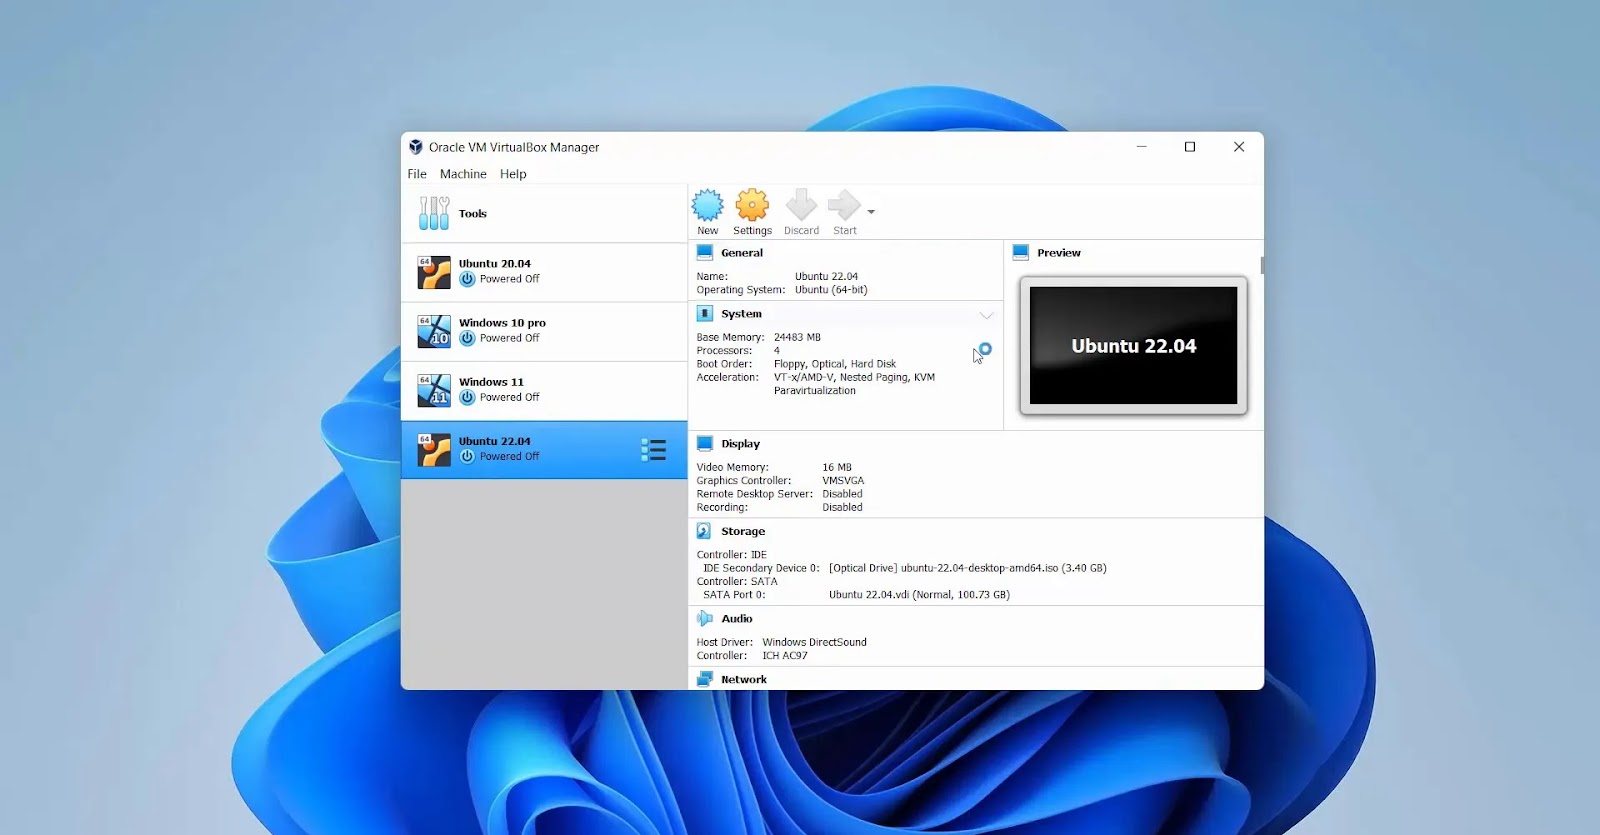
Since we have created a virtual machine, it is necessary to configure it before starting.
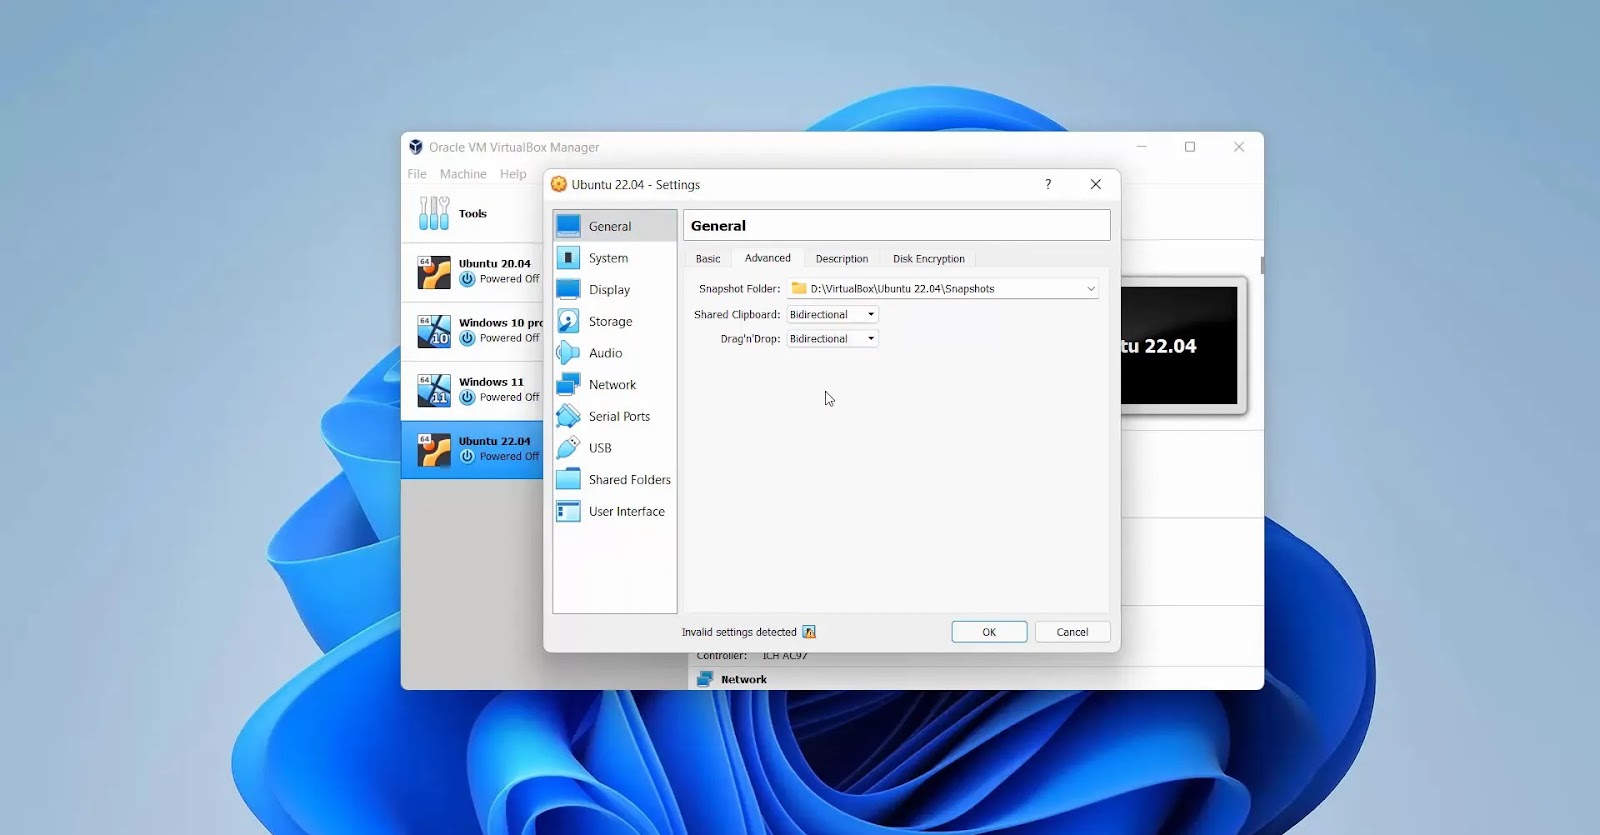
- Select a newly created virtual machine and click Settings.
- in Common Section, I’m going Advanced And set Sharing clipboard and Drag and drop On Two -way。
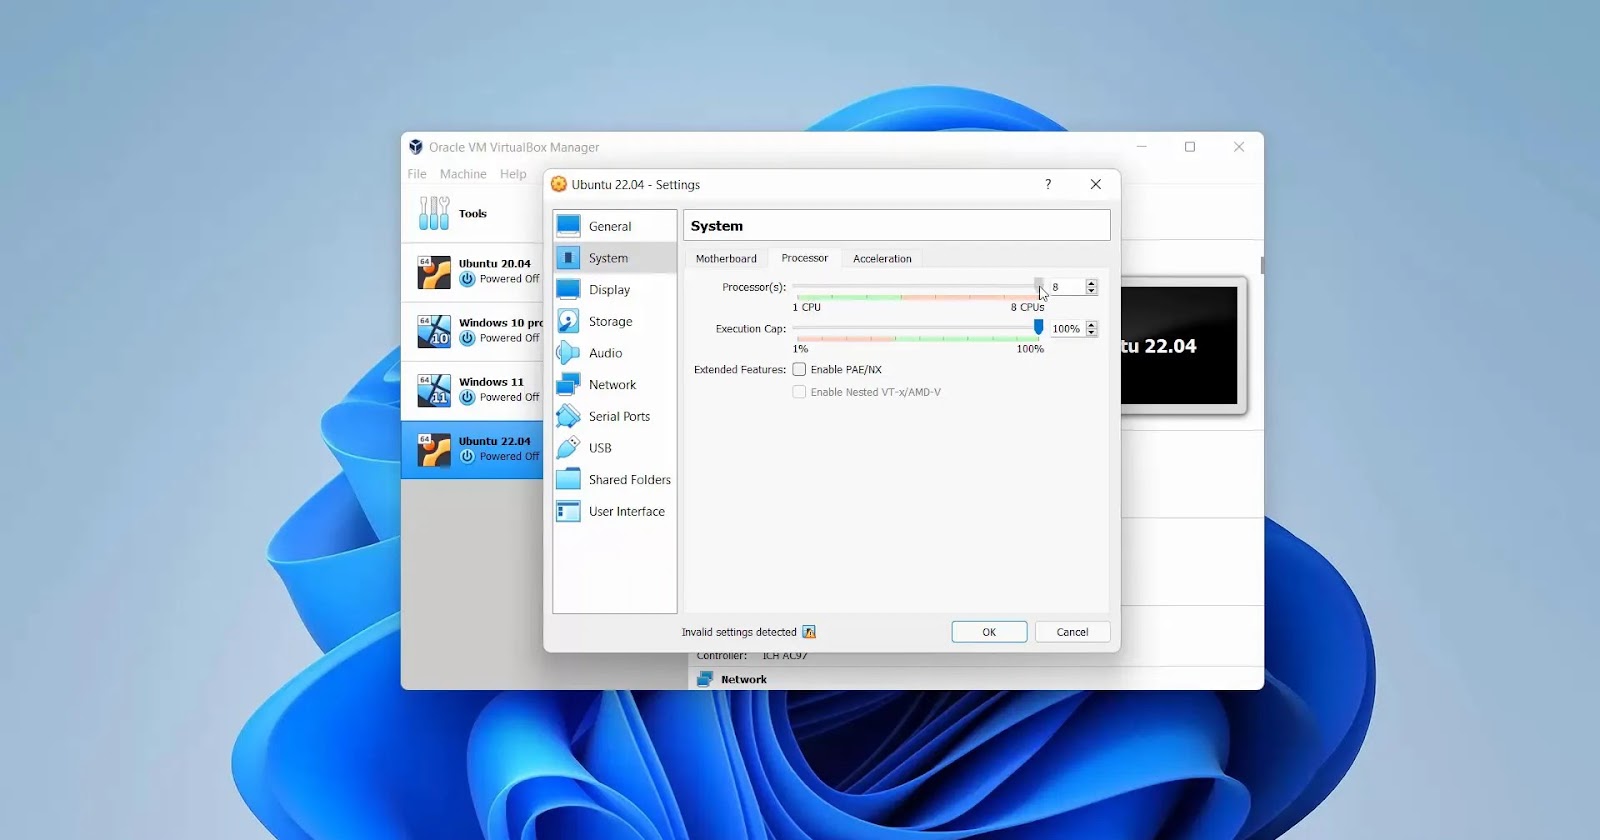
- in system In the section, if the machine is allowed, you can assign more CPUs. For example, assign a 4 CPU.
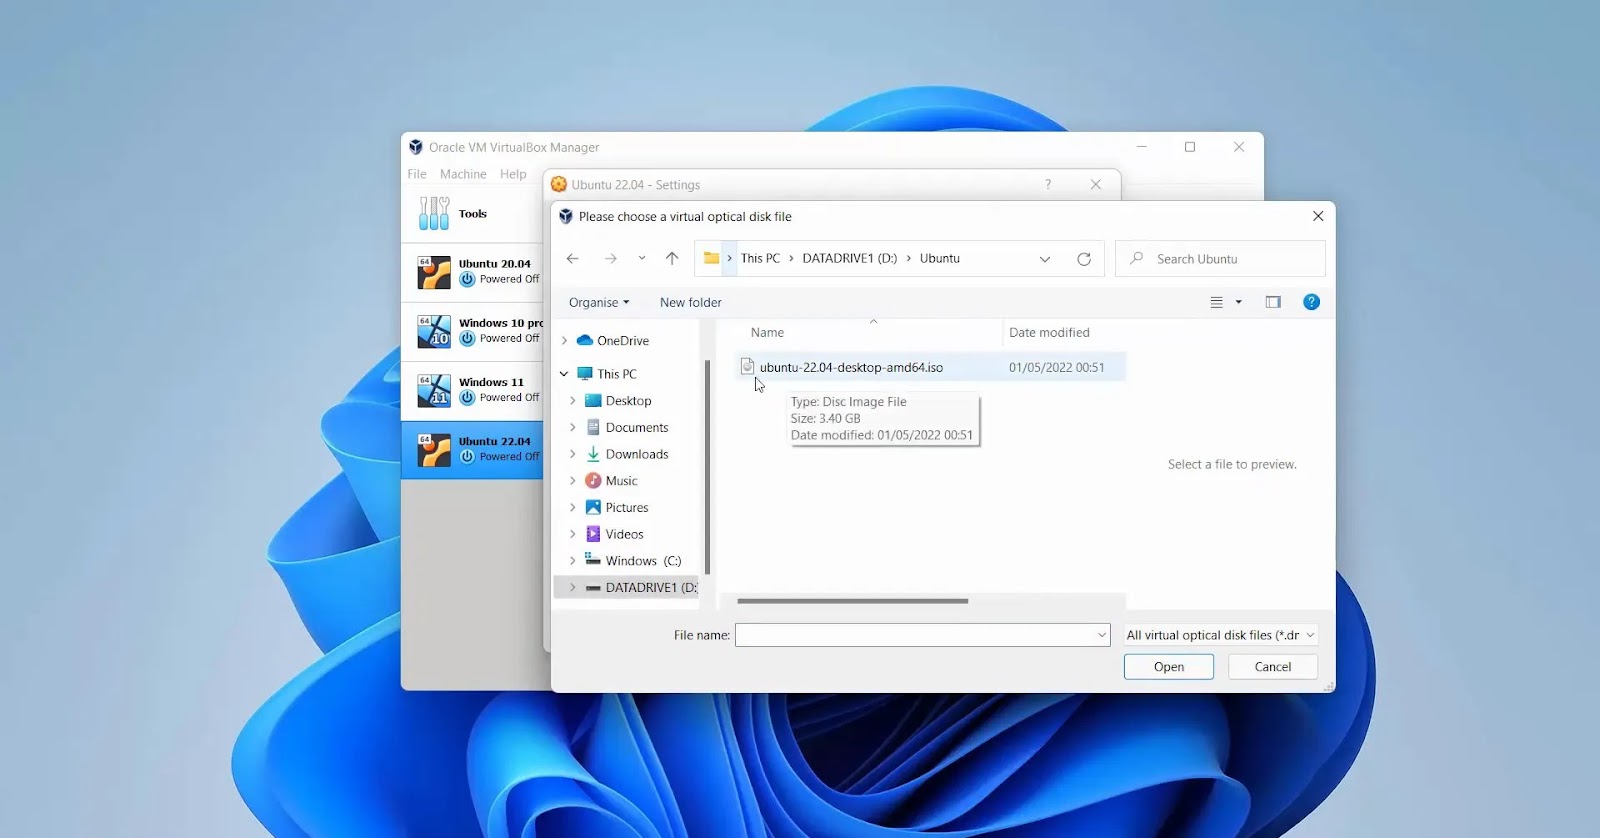
- in Storage Click the section, empty disk icon, click the CD icon, and select the previously downloaded Ubuntu ISO file.
Install Ubuntu on VirtualBox
Everything has been set up, so you can start the Ubuntu installation.
- Select and click a virtual machine start。
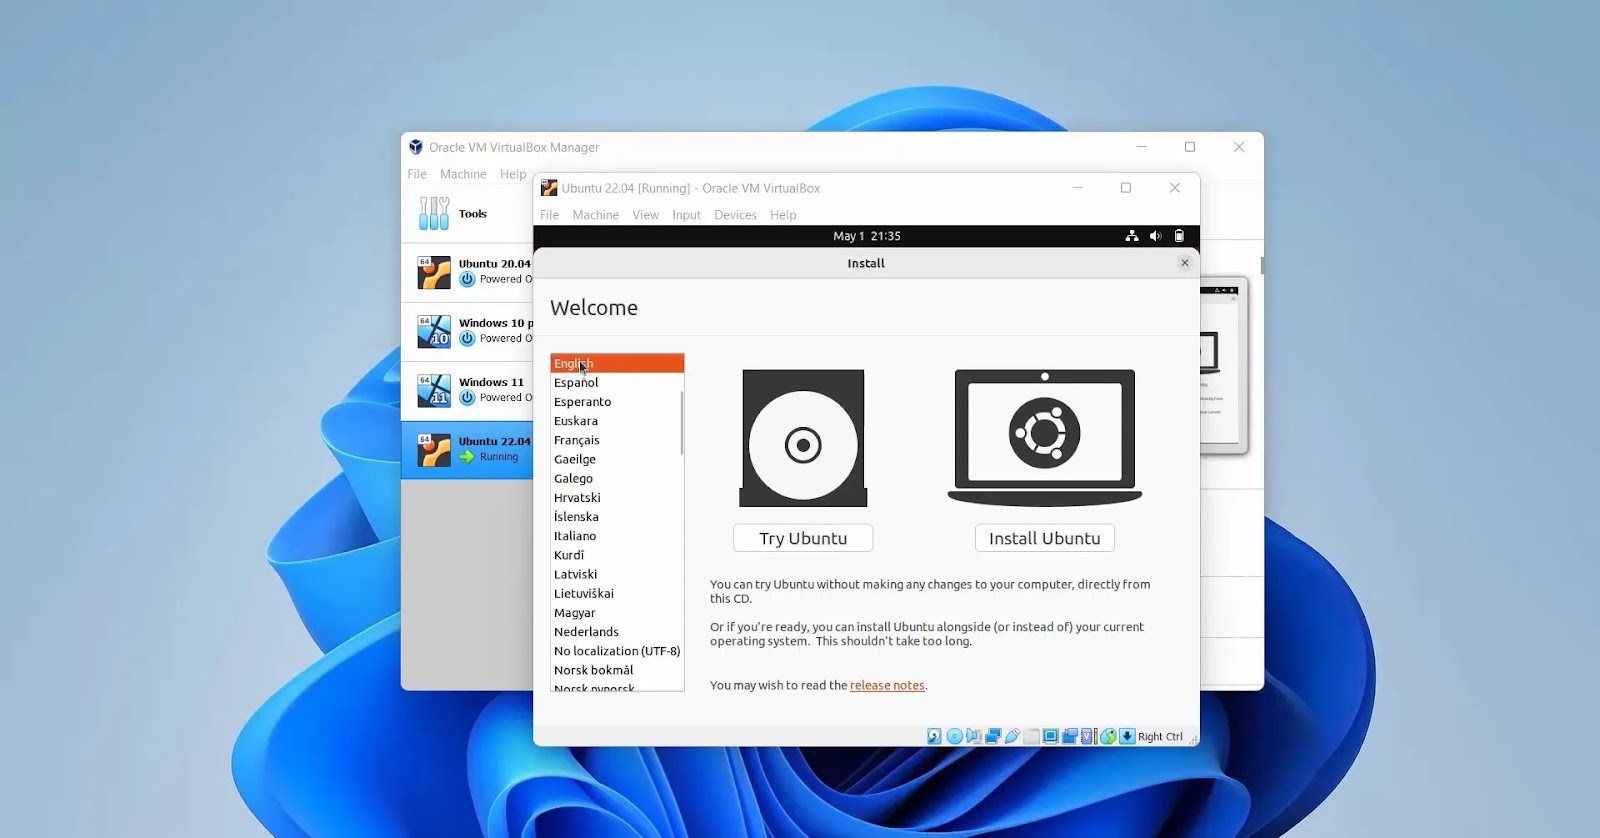
- When the prompt is displayed, select Try and install Ubuntu And press input。

- Select your favorite language and click Install Ubuntu。
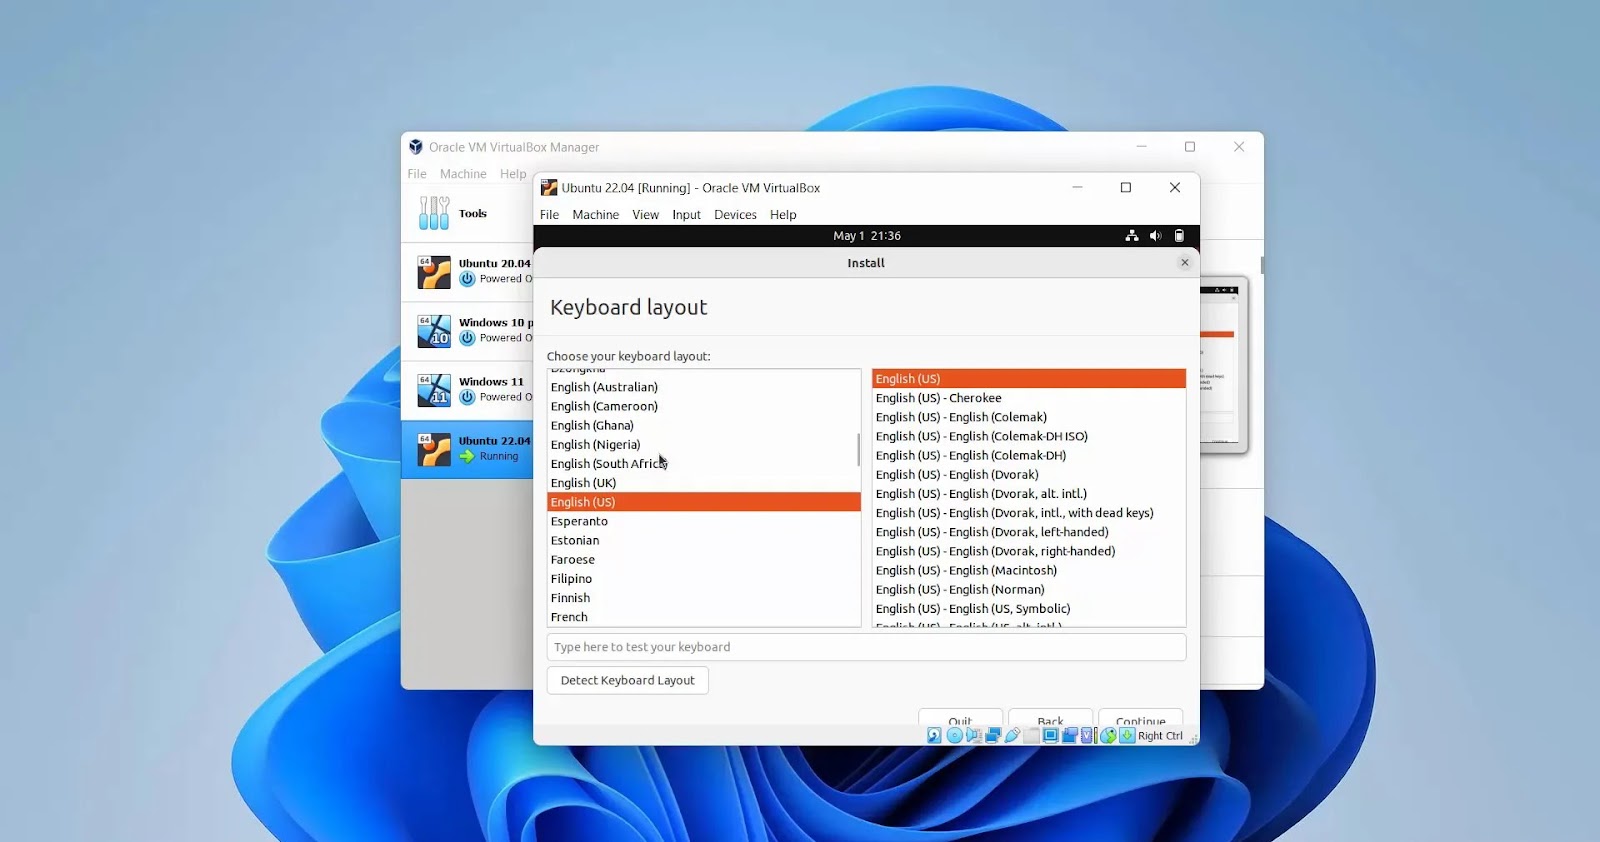
- Select and click the keyboard layout Continue。
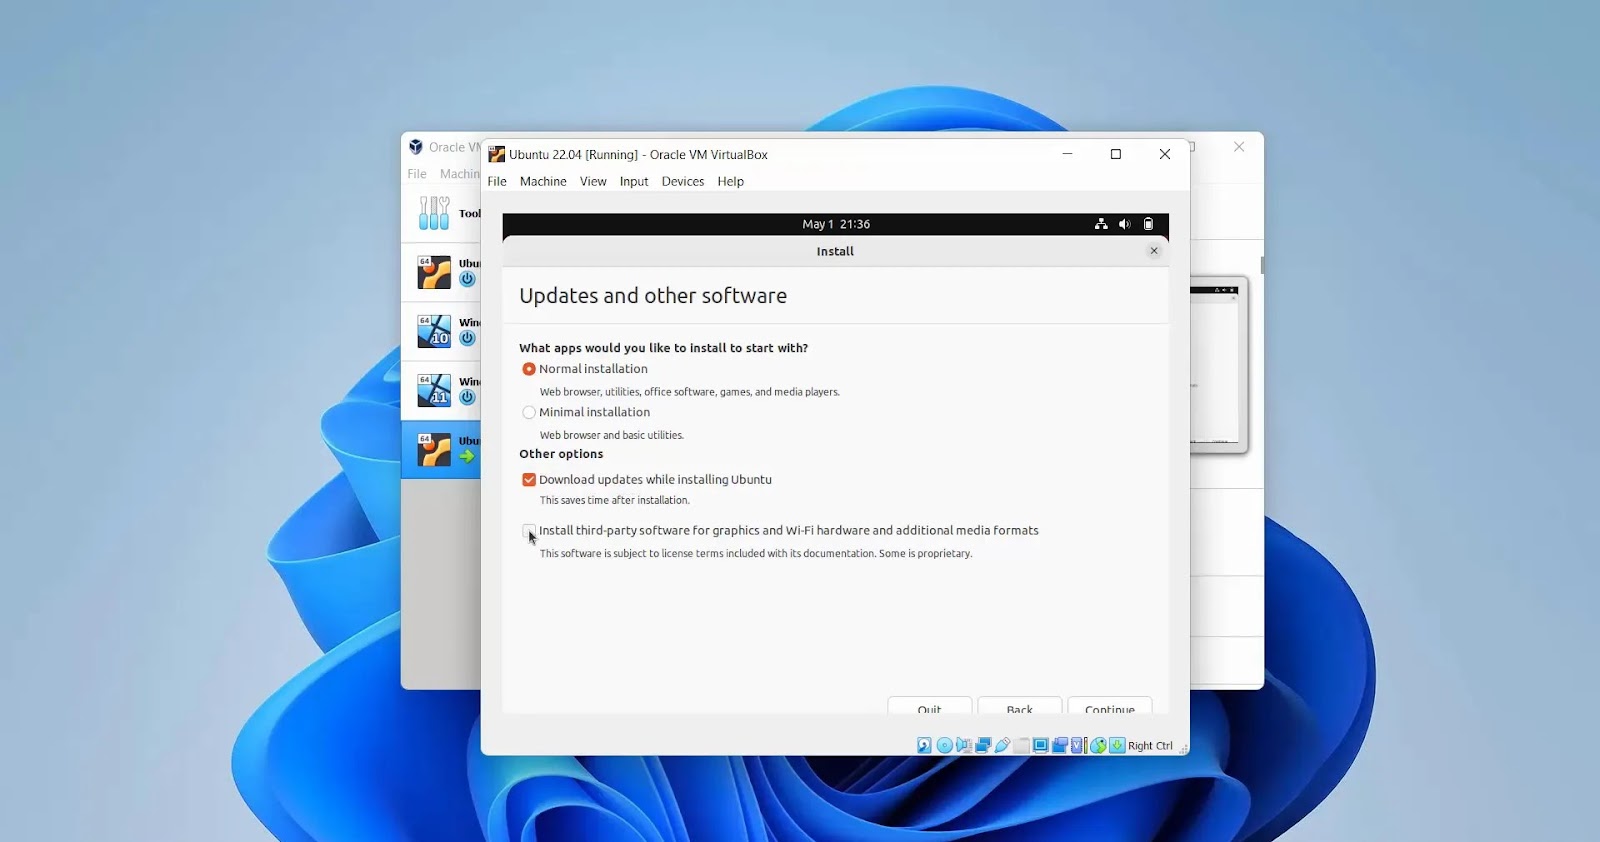
- Select in the next window Normal installation Check the box for downloading updates and installing third -party software. Next, click Continue。
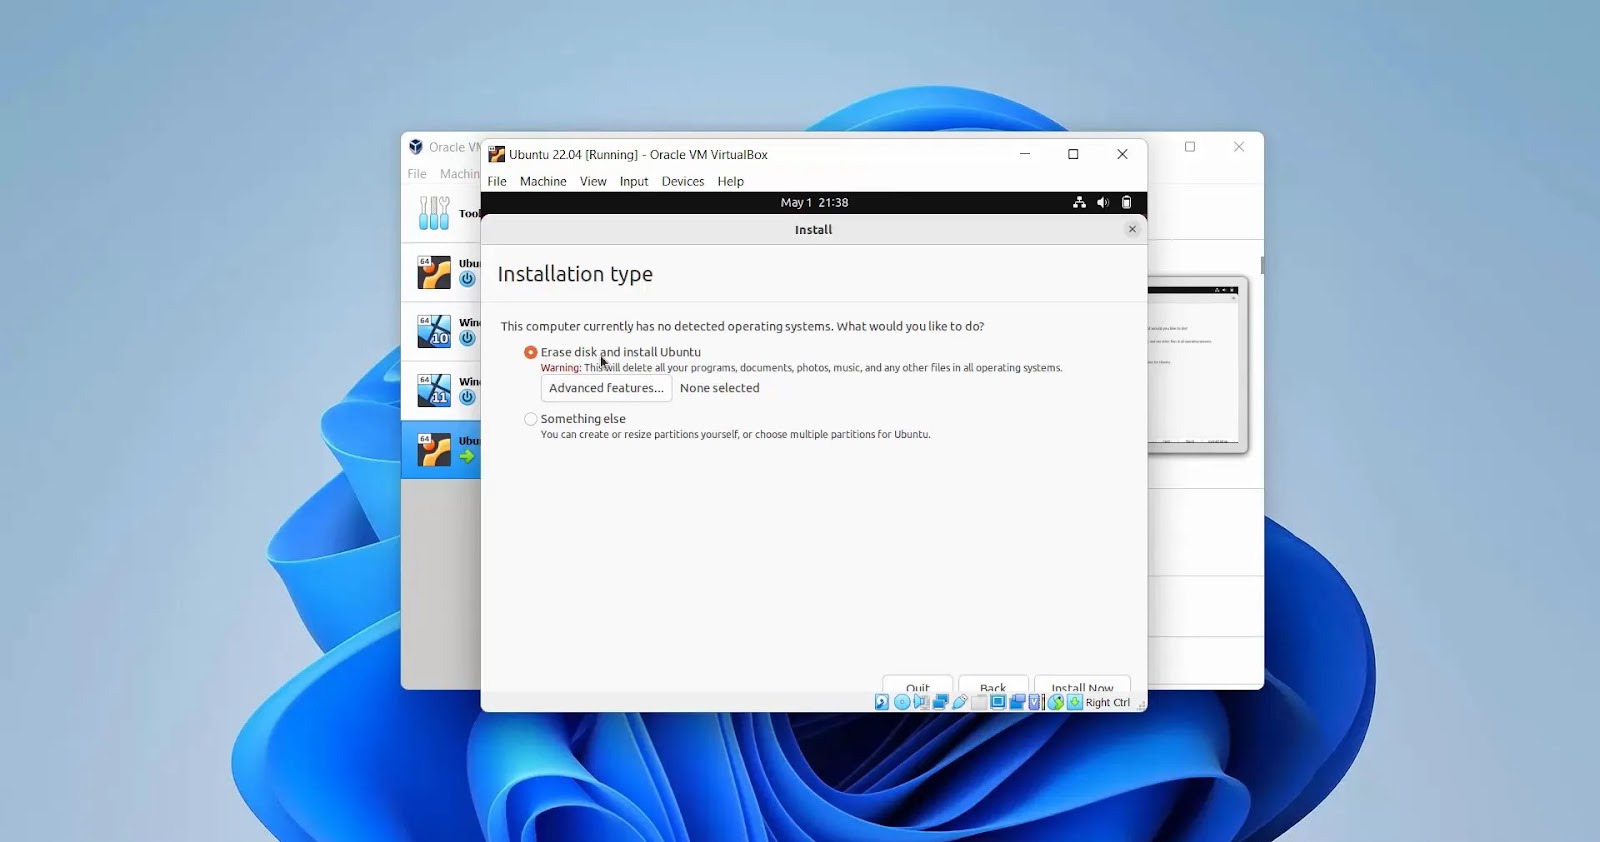
- When the option is displayed Erase the disk and install UbuntuDon’t worry; this is applied only to virtual hard disks and is not a host machine. click Please install now。
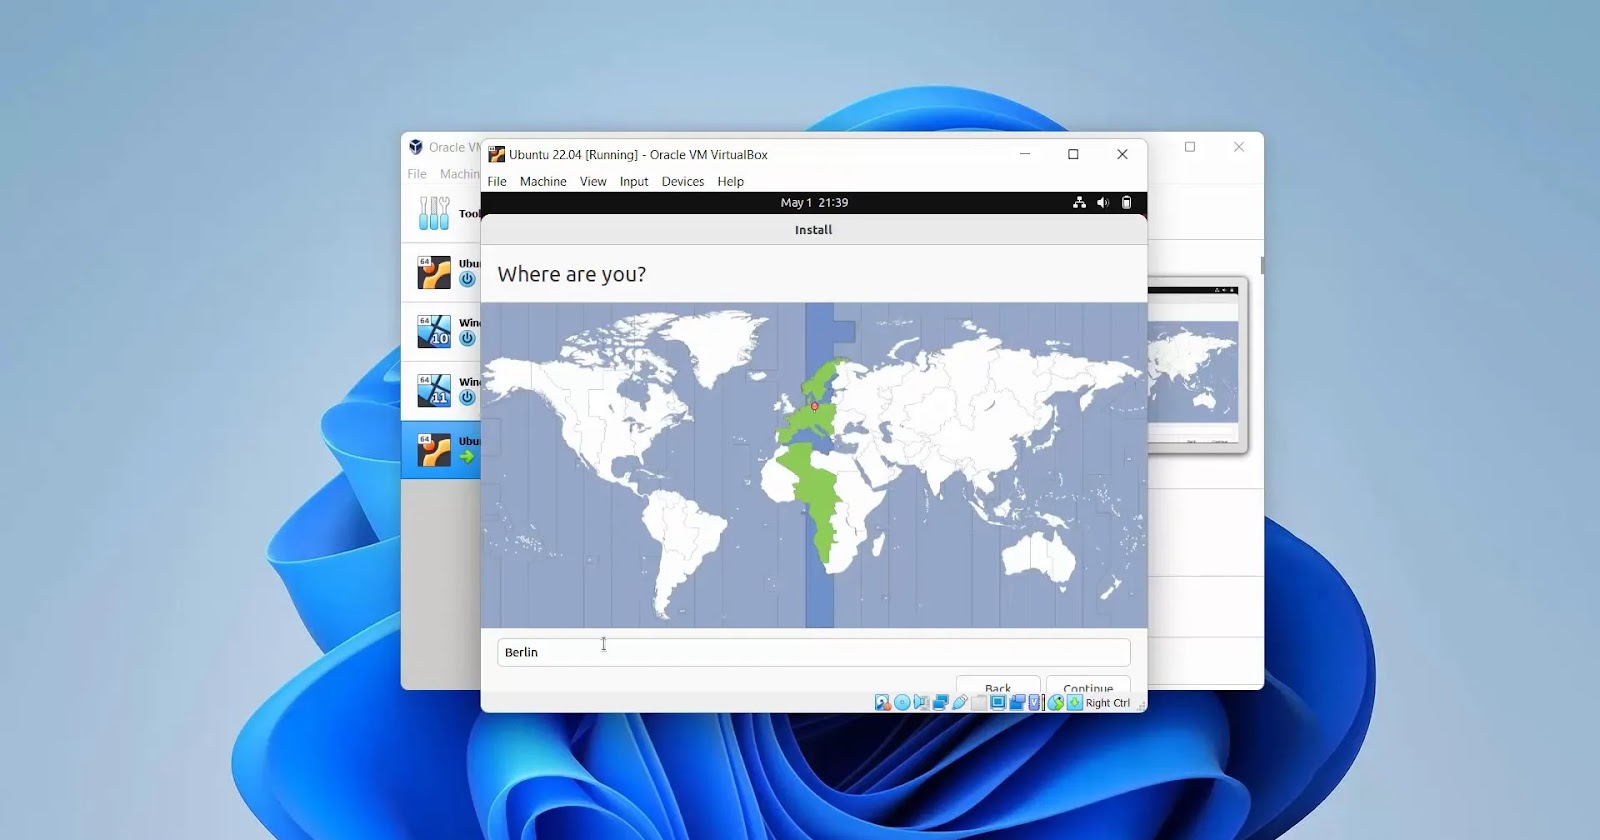
- Select and click the area Continue。
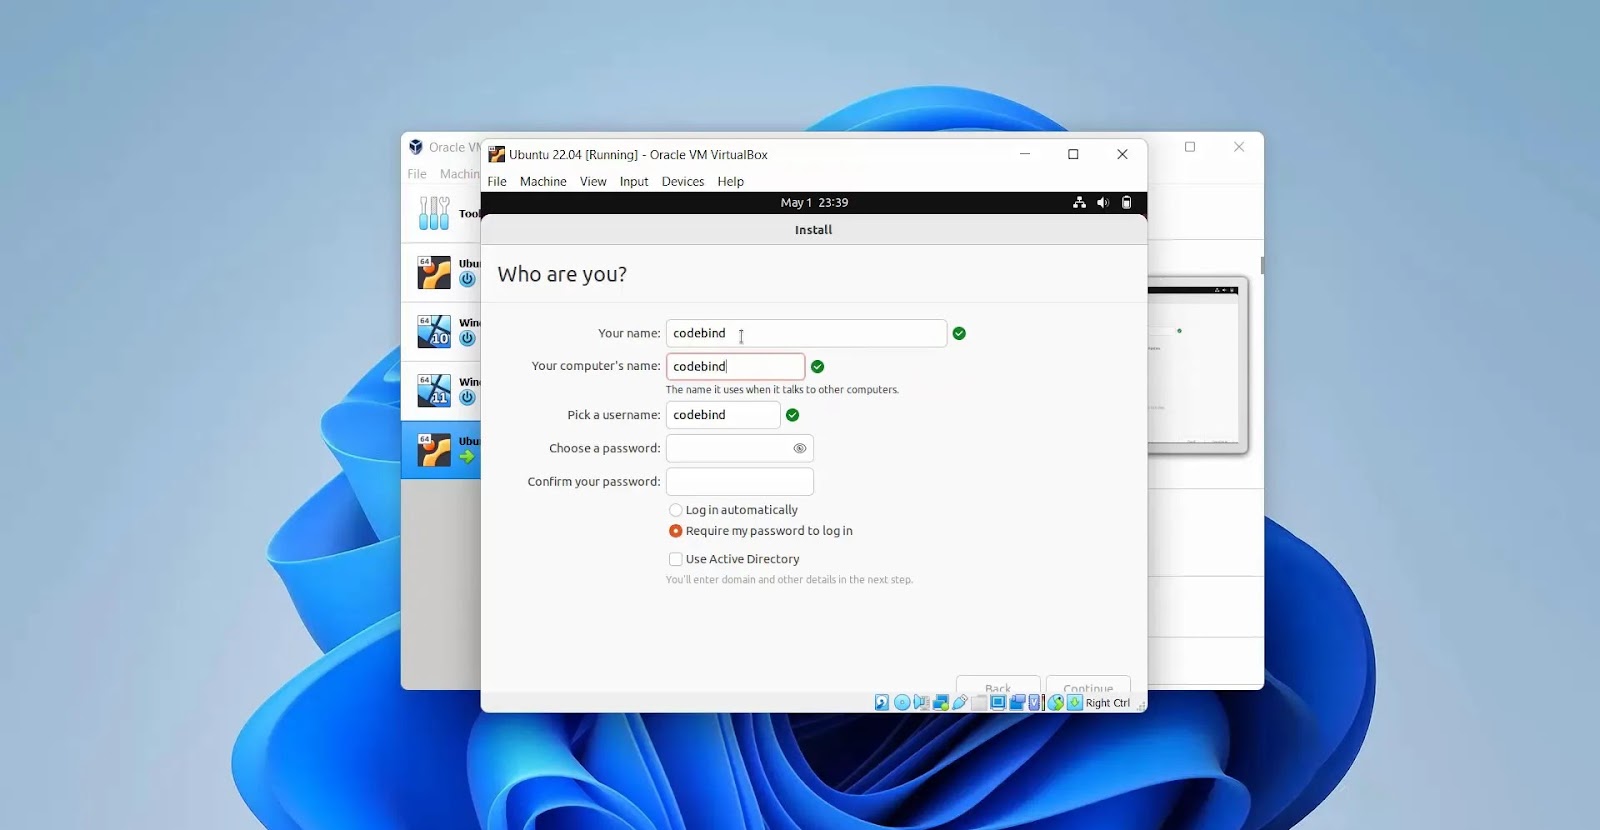
- Enter the name, computer name, password, etc. for details and click. Continue。
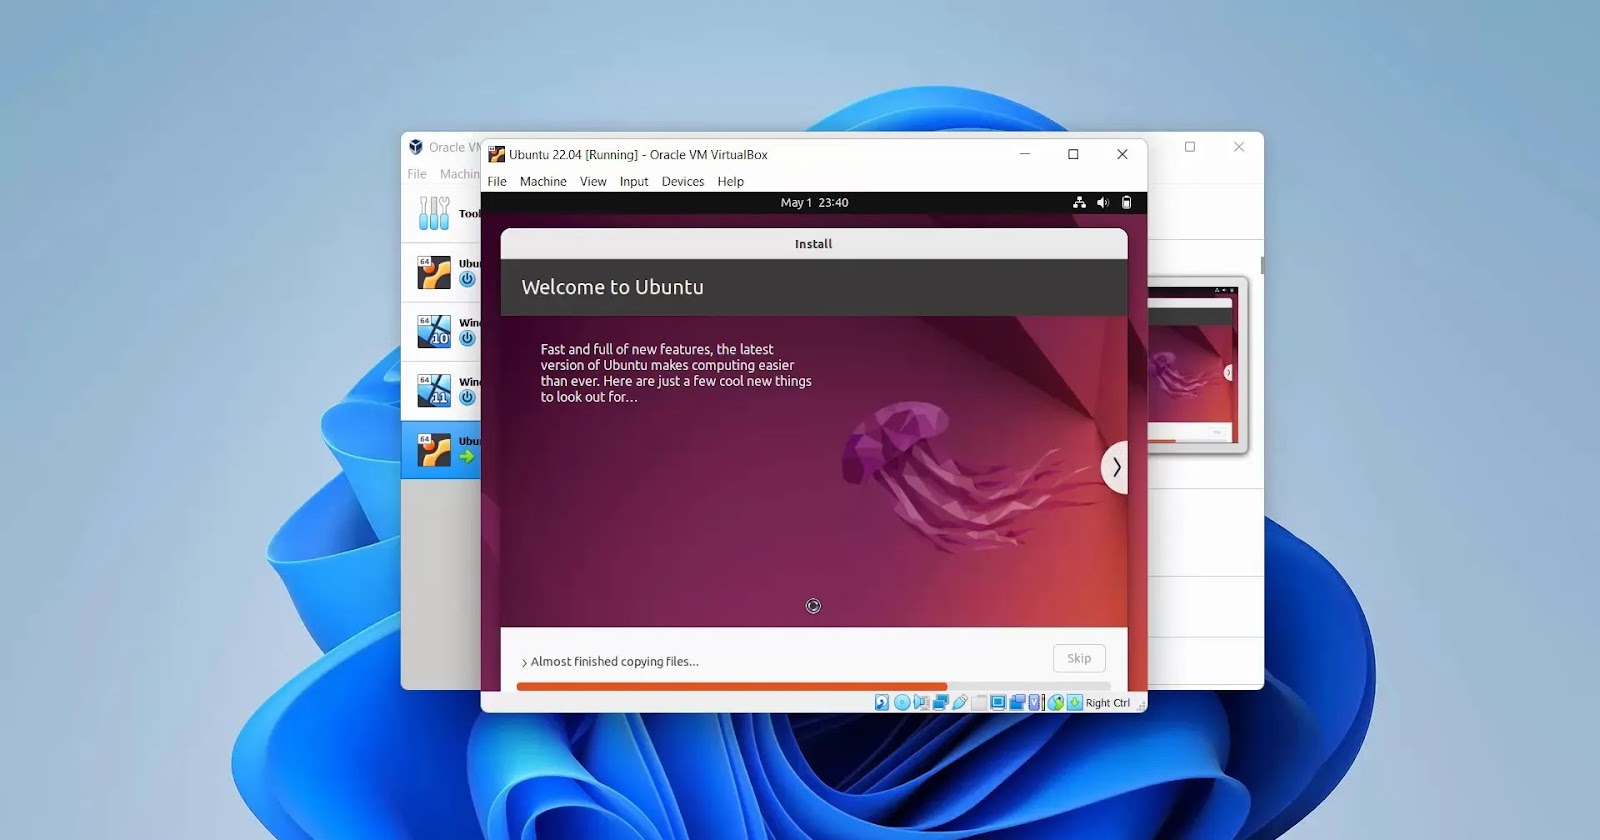
- The installation will continue. Wait for the ongoing bar to reach 100 %.
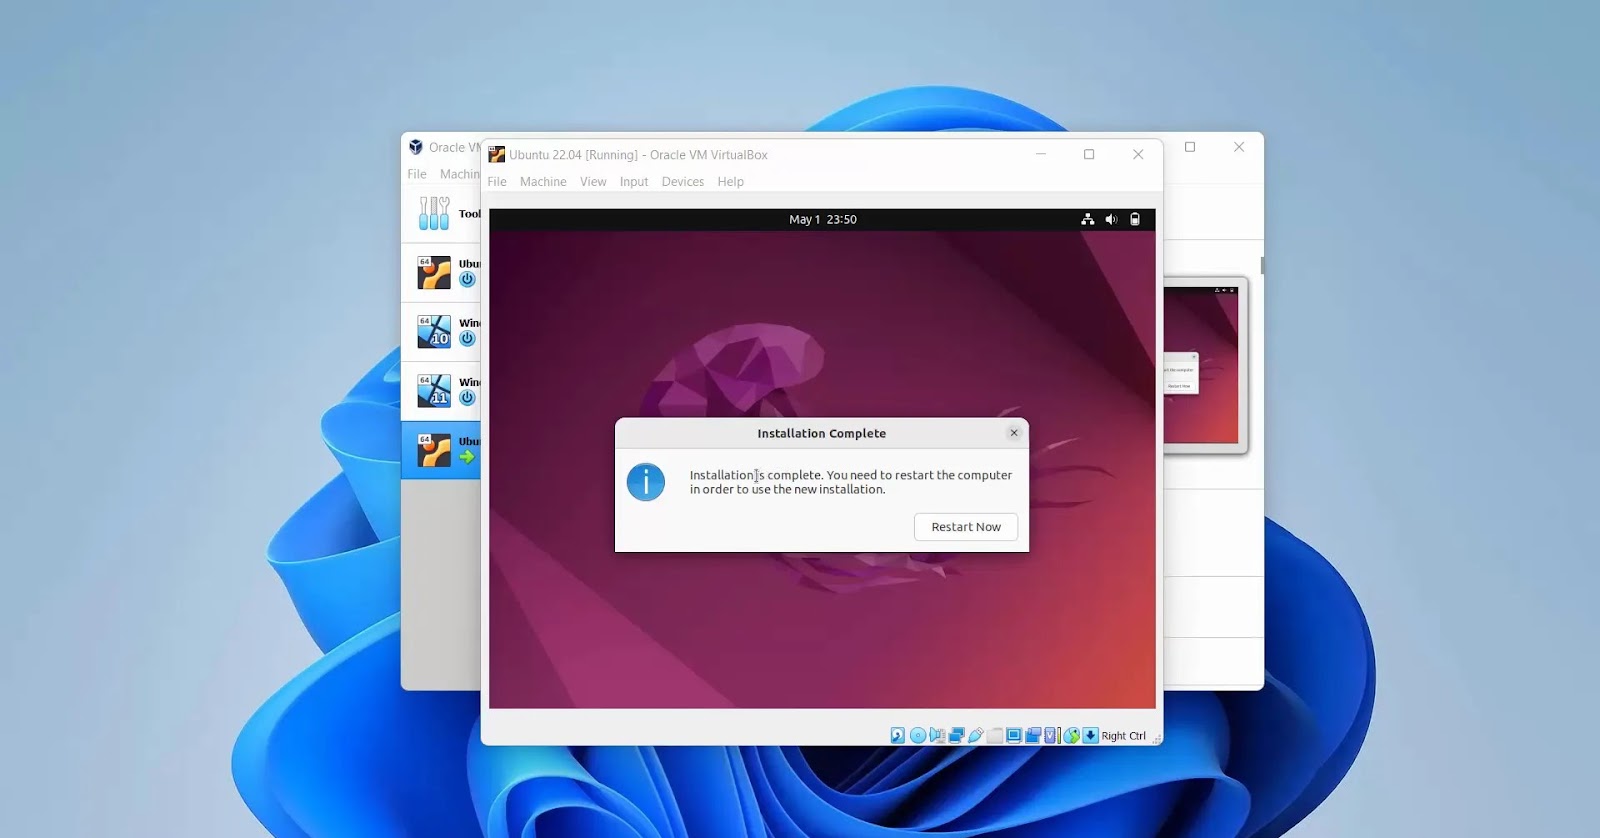
- When the installation is complete, click I will restart now。
When the prompt is displayed, remove the installation medium and press Enter. The virtual machine is restarted and the Ubuntu login screen is displayed.
After installation: Added VirtualBox guests
After installation, it is important to install the addition of VirtualBox guests to optimize performance and improve usability.
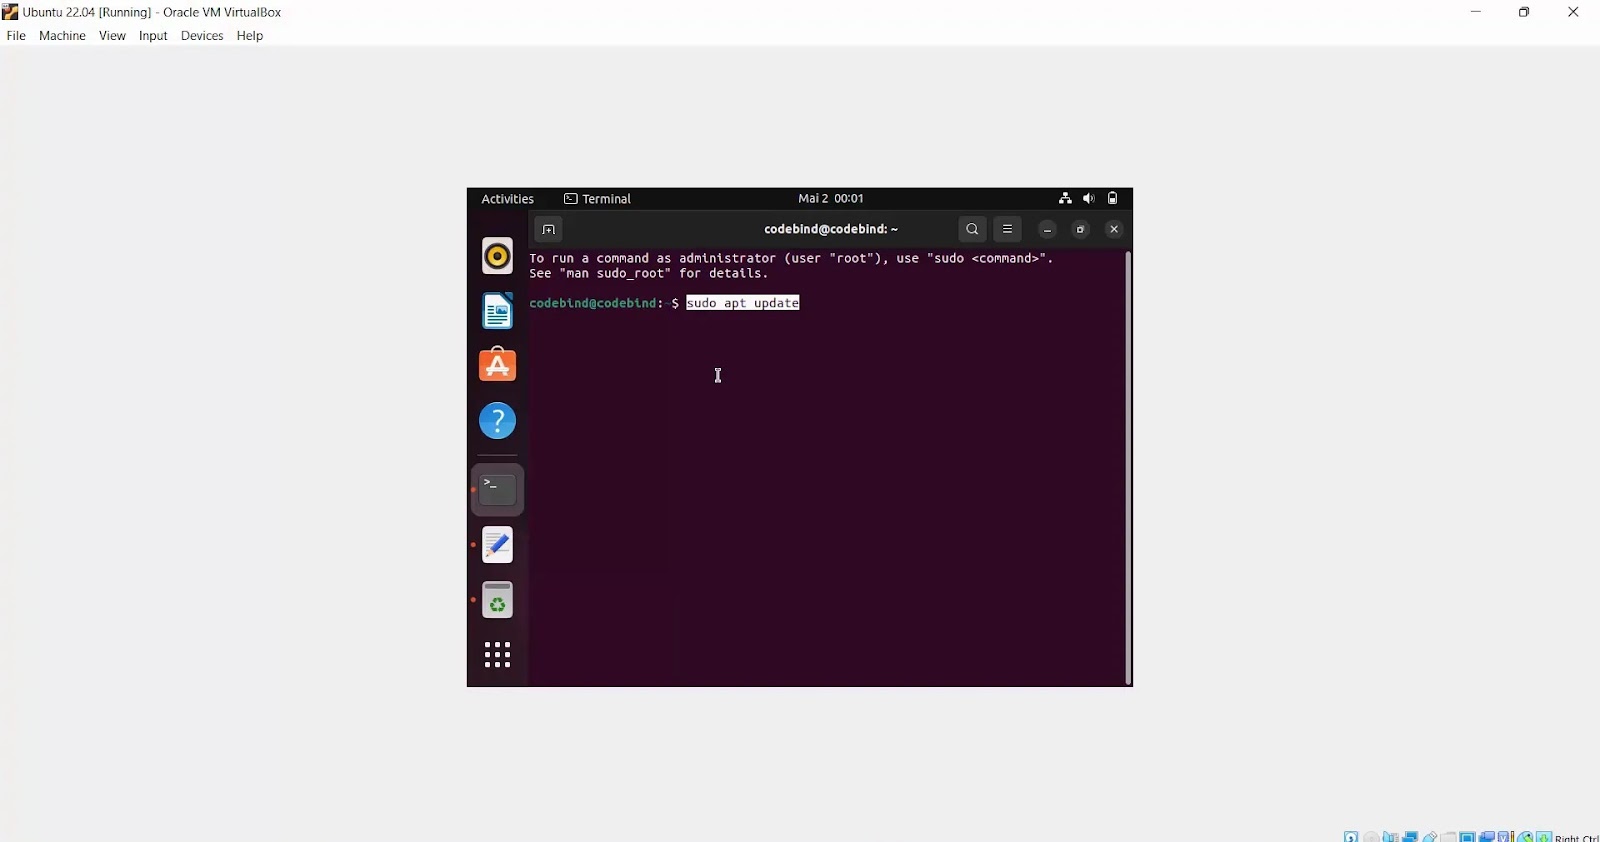
- Open the terminal with Ubuntu, execute the following command to update the package list.
sudo apt update
- Next, install the required package.
sudo apt install -y build-essential linux-headers-$(uname -r)

- Click on VirtualBox device Select Insert the additional CD image of the guest。
- Open and execute the mounted CD image Autorun.sh A script to install guests.
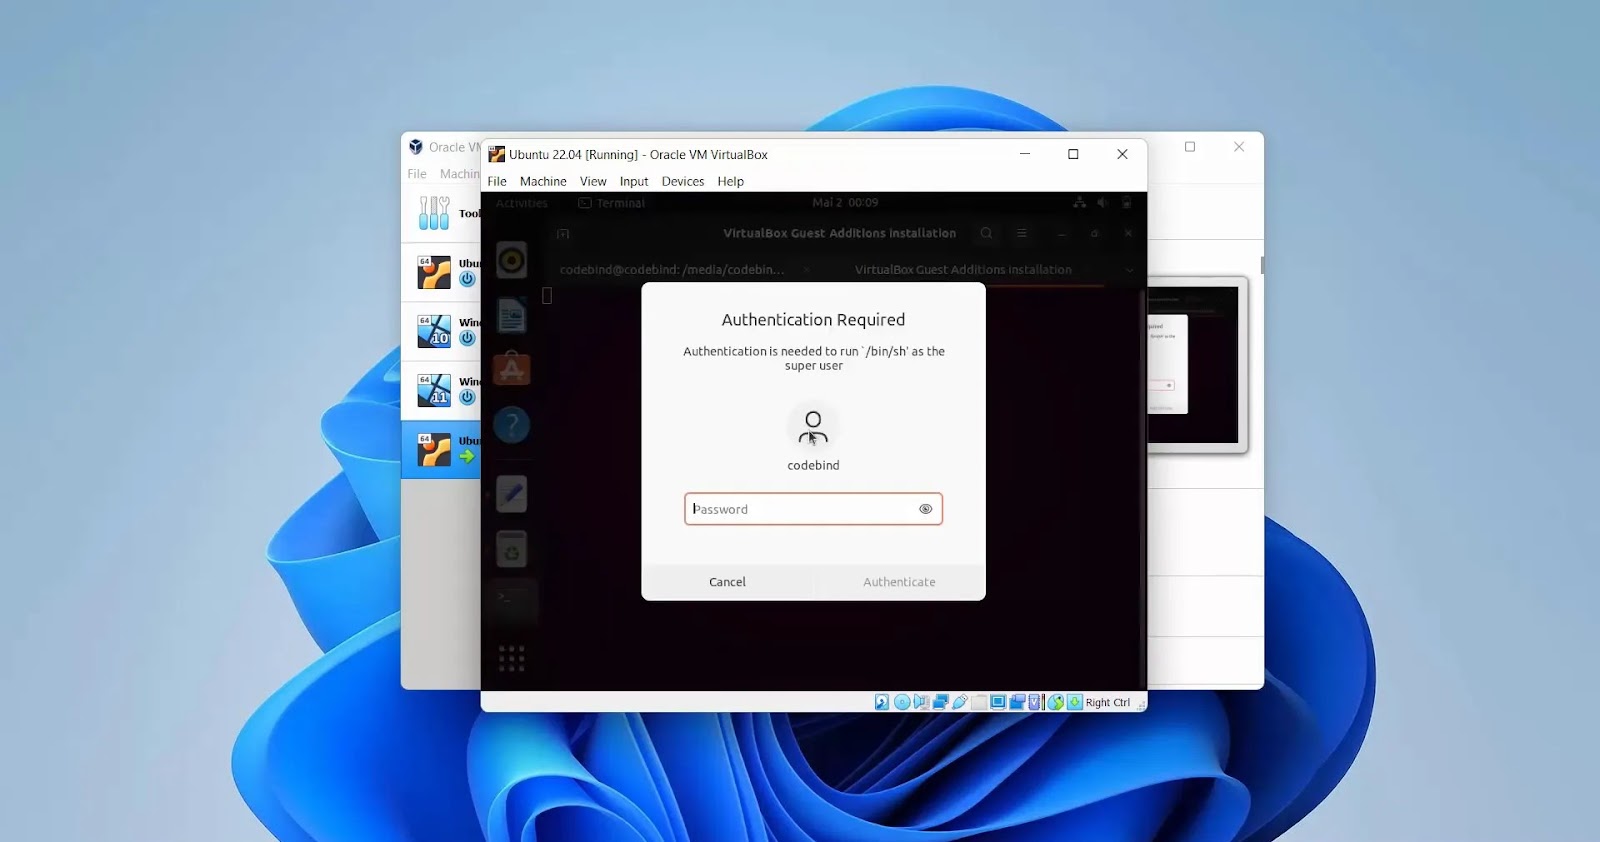
- After installation, restart the virtual machine and apply the change.
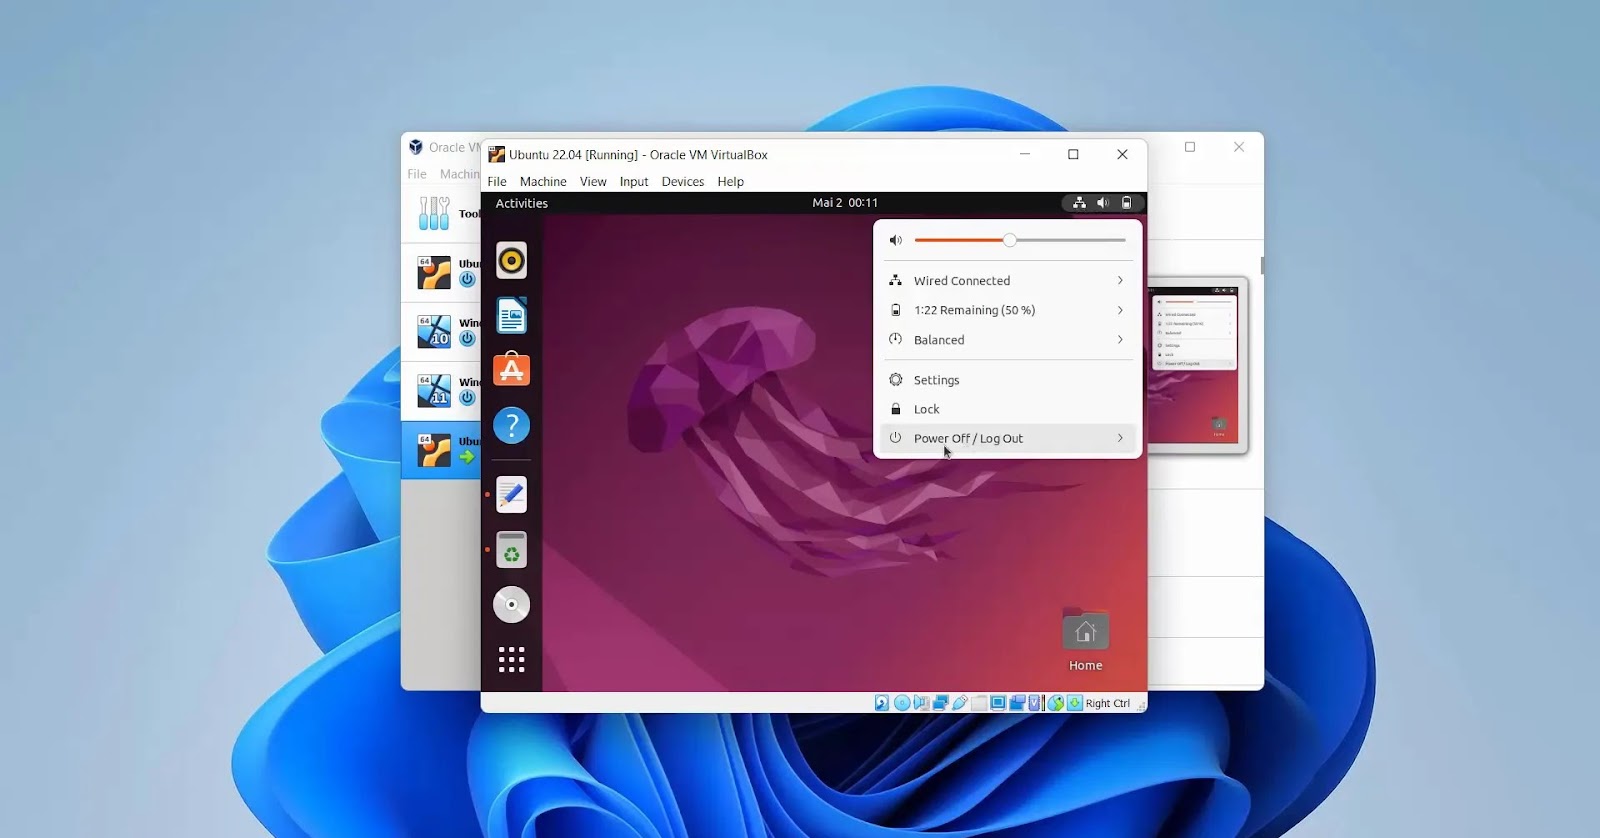
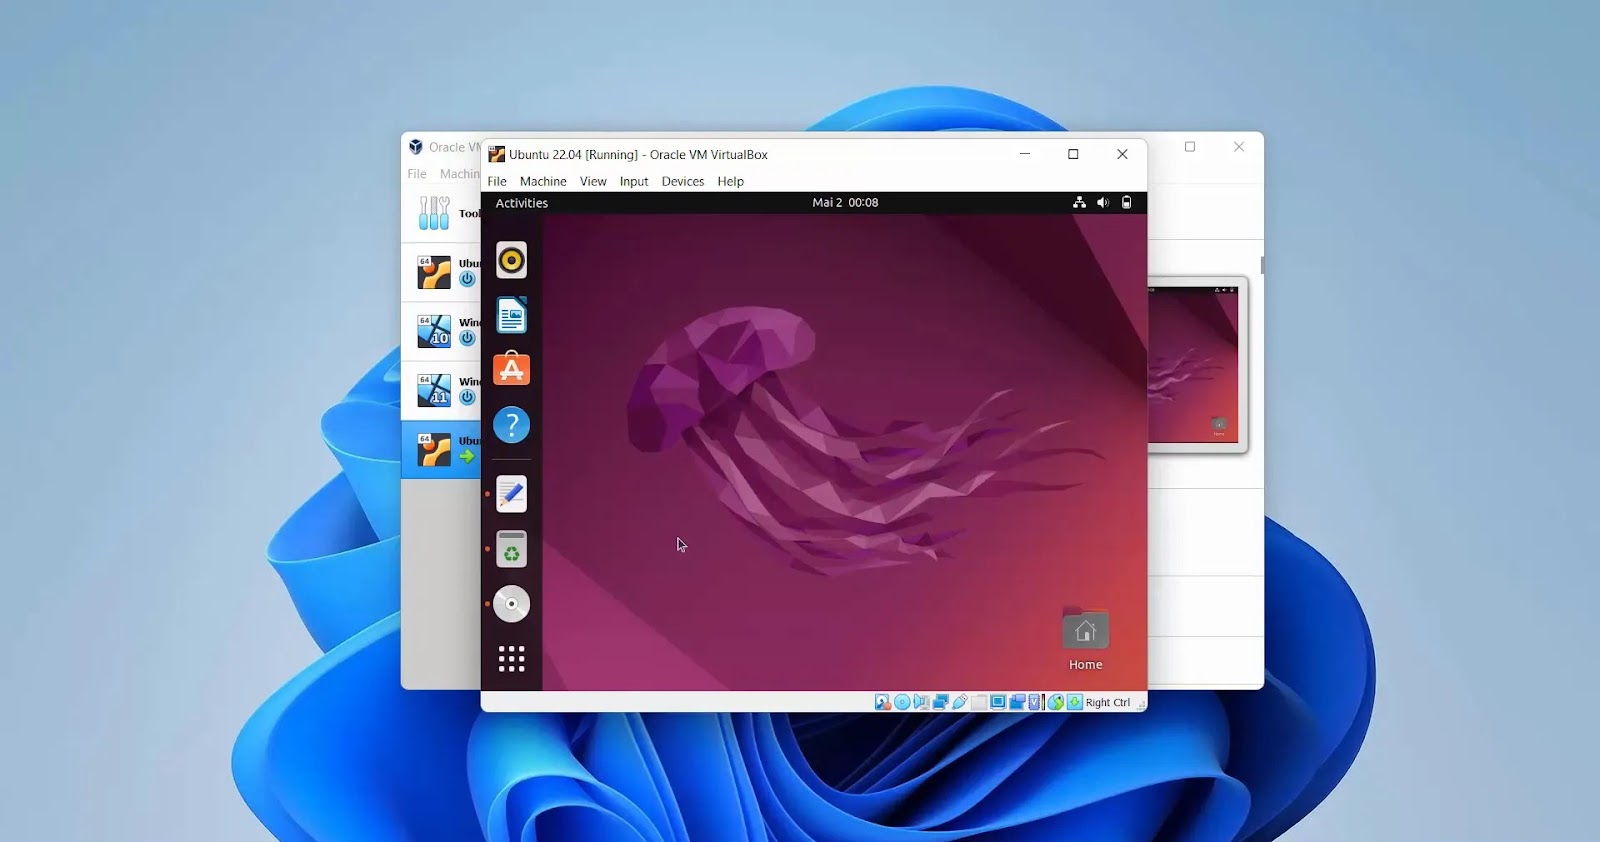
Use Ubuntu on VirtualBox
You can now use Ubuntu on the Windows 11 system via VirtualBox. You will notice that the performance and functions have been improved by changing the size of the window and sharing files between the host and the guest OS.
Read more: How to disable weather widgets on Windows 11?
Summary things
Congratulations! Ubuntu 22.04 LTS was successfully installed on the Windows 11 operating system using VirtualBox. This setup allows you to explore Ubuntu and its features without affecting the main system. Enjoy a trip to the Linux world!


